Setting up Japanese input IME (日本語入力方法) on Fedora 19 Linux under the Gnome 3 environment is quick and easy, and can even be done during the initial setup process.
This quick tutorial will show you how to set up Japanese input.
Japanese IME Setup Procedure
To start, open Activities from the Top Panel.
In the Search Box, type Region & Language and select Region & Language.
On the Input Sources section of the Settings screen, press the + in the lower left corner to add a new keyboard input source.
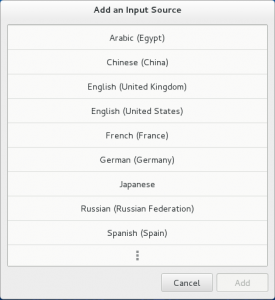
On the Add an Input Source screen, select Japanese.
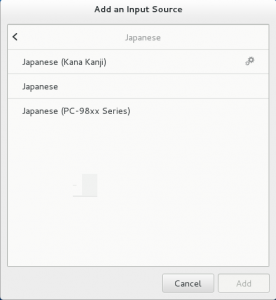
On the next Add an Input Source screen, select Japanese (Kana Kanji).
Press Add.
Close the Region & Language menu.
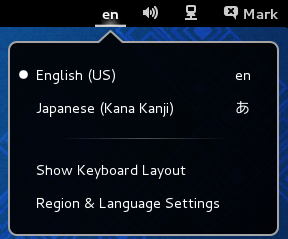
You should now have the input language menu in the top bar. The en displayed means English keyboard.
Press it and select Japanese (Kana Kanji) to change to Japanese Input.
The en should have changed to a katakana あ to indicate Japanese input.
That’s it. You can now type in Japanese.
Press the katakana あ in the top bar while in Japanese input mode to toggle between various input modes and typing methods.
For previous versions of Fedora, refer to:


ibus-kkc and libkkc aren’t added by default on upgrades, (or at least when starting from US English defaults) so you won’t see “Japanese (Kana Kanji)” unless you install ibus-kkc and relogin.
This would apply to upgrades from any version previous to F19.
See this page for details of the change:
https://fedoraproject.org/wiki/Features/libkkc