This tutorial will show you how to set up Japanese input IME (日本語入力方法) on Ubuntu Linux 12.04 from the Unity interface. The installation procedure is very similar to the previous Unity release of Ubuntu 11-10.
Setup Procedure
To start, select Dash home from the Unity Launcher.
From the Dash home, search for Language Support.
Select Language Support.
On the Language tab of the Language Support screen, press Install / Remove Languages…
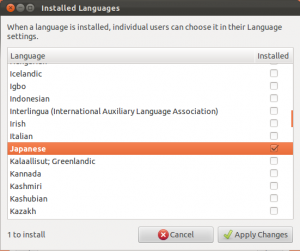
On the Installed Languages screen, scroll down to Japanese and check Installed, and then press Apply Changes.
Enter your password on the Authenticate screen.
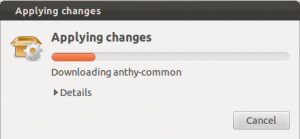
It will take a few moments to download and install the Japanese IME packages.
Back on the Language Support screen, select ibus for the Keyboard input method system, and then press Close.
Once again select Dash home from the Unity Launcher.
From the Dash home, search for Keyboard Input Methods.
Select Keyboard Input Methods.
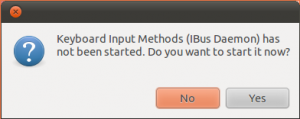
You may get a pop up message saying Keyboard Input Methods (IBus Daemon) has not been started. Do you want to start it now? Select Yes.
On the Input Method tab of the Ibus Preferences screen, select the Customize active input methods check box.
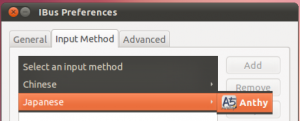
Press Select an input method and select Japanese → Anthy.
Press Add and then press Close.
The Ibus keyboard icon will now display on the top panel.
Open up any application with a text box such as gedit and place the cursor in the text box.
Press the Ibus keyboard icon on the tap panel and select Japanese-Anthy.
The Ibus keyboard icon will now change to the Anthy Aち icon.
That’s it. You can now type in Japanese in Ubuntu 12.04. 難しくない手順ですね。


