Setting up Japanese input on OpenSUSE Linux is not difficult, but it requires knowing what to install and when to restart the Linux system. It only takes a few minutes to download all the files and get it set up. Once installed and configured, you will be able to input Japanese characters and type Japanese and English whenever you want.
Prerequisites
- YaST software repositories are configured properly.
Setup Procedure
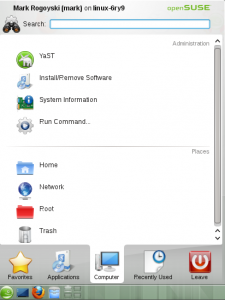
Click on the Kickoff Application Launcher.
On the Computer tab, click Install/Remove Software.
On the Search tab, search for anthy.
In the search results window showing the matching packages, select the anthy and ibus-anthy packages.
Press the Accept button on the bottom right of the window.
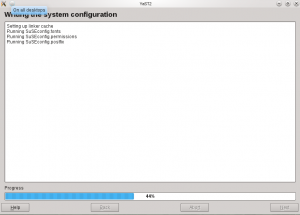
YaST will now download, install, and configure the anthy packages.
Do the same for ibus. Open Install/Remove Software, search for ibus, and select the package for ibus. Press Accept to install.
Click on the Kickoff Application Launcher, and from the Leave tab, click Restart to restart openSUSE with the new configuration.
After restarting, log back in.
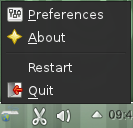
You will now have the IBus input method framework icon in the bottom panel.
Right click the IBus input method framework icon and click on Preferences.
On the Input Method tab, select Japanese → Anthy from the dropdown menu.
Press the Add button to add Japanese Anthy input method, and then press Close.
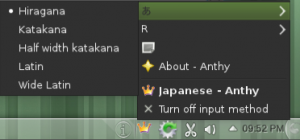
Open up a text editor or any application with a text input window, and click on the IBus input method framework icon and select Japanese – Anthy.
You can now type in Japanese.
Click the Anthy crown icon to select between the various Japanese input modes.
That’s it. Setting up Japanese input on openSUSE 11.4 is not very difficult. When you try to type Japanese, make sure the cursor is in a text box in an application, or you may get an error saying No input window. Now enjoy your international Linux distribution.







Thanks! This worked like a charm with OpenSUSE 12.1 as well.